Archives: renovations

baby room

Sometimes, if I don’t think about it, I forget that when we first bought our house it was in some pretty rough shape. I didn’t think it at the time but now looking back and seeing how much work we’ve done, I can see that it has come a looong way. There’s still a million things we still want to do, but I think that this will always be the case.

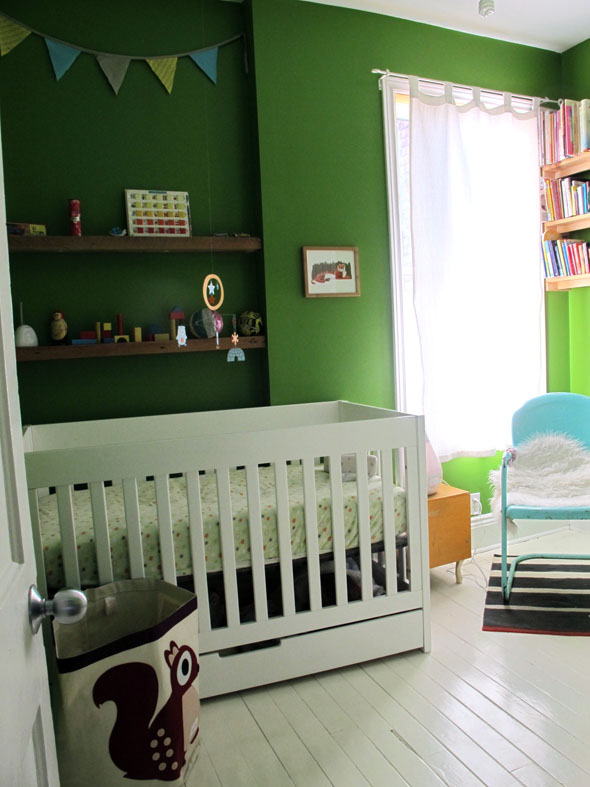
Here’s the Before and After of the room that has become Omi’s room.

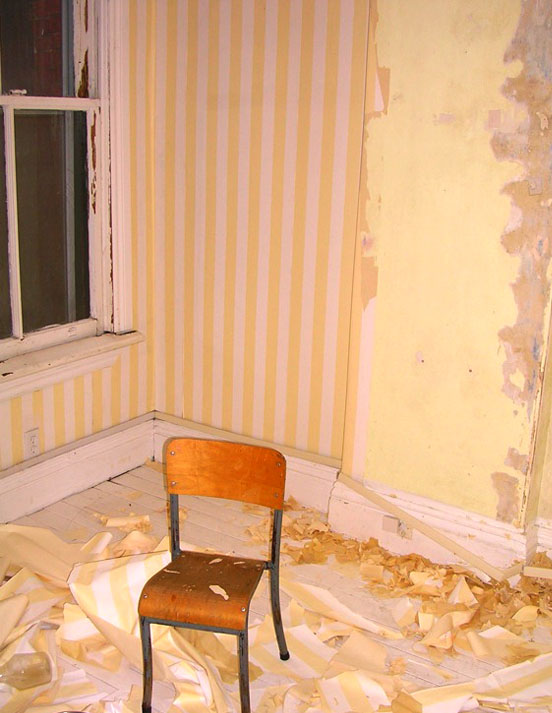
Before

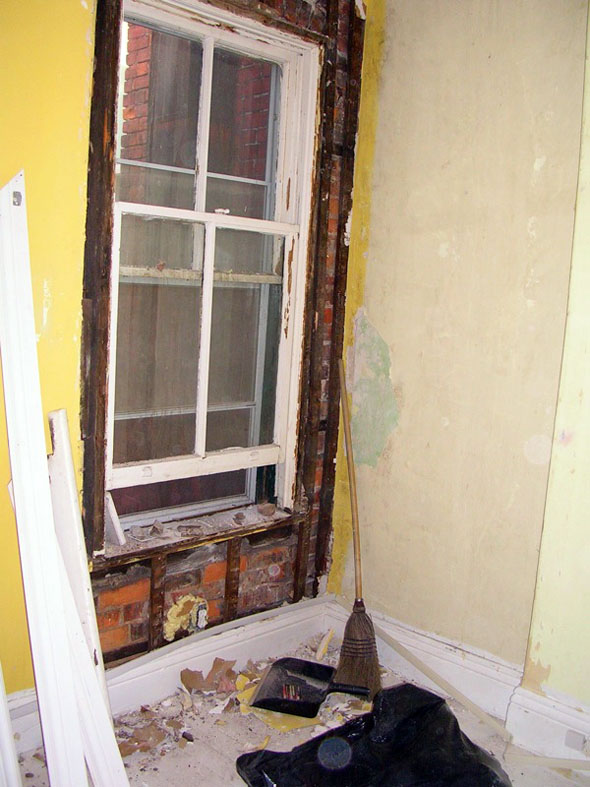
This room wasn’t the worst of the rooms we’ve renoed. However, it was wallpapered, which always sucks to peel off, AND as I peeled the wallpaper we found some black mold growing all around the window. The wood of the window was rotting and the moisture was getting trapped in between the wall and the layer of wallpaper. It was super gross. We stripped the walls down, insulated and ended up having to put in a new window. Once it was a fresh and new I moved all my things in, and it served as my office and guest room until Omi’s arrival.

After


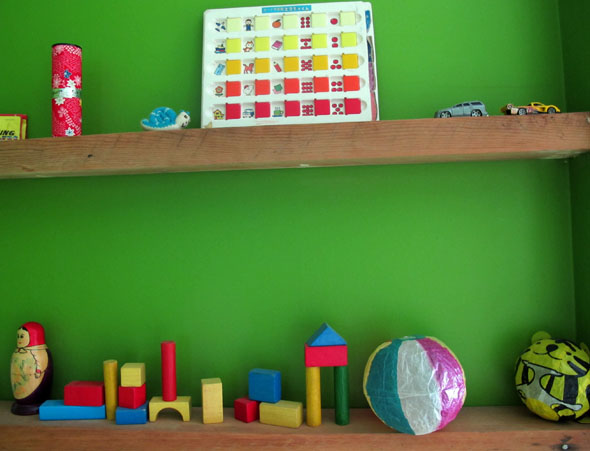
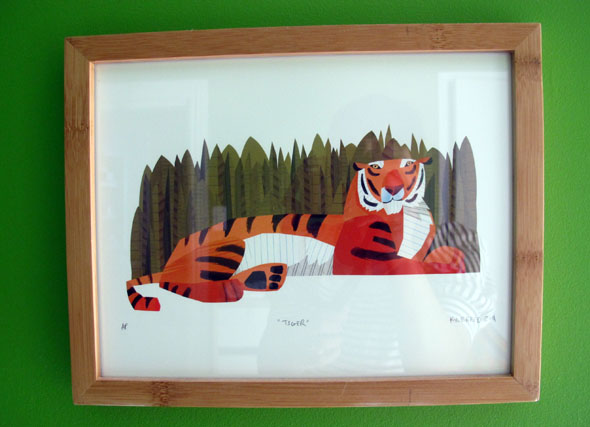
This tiger print was a gift from our friends Jen Hsieh and Kyle Reed from Sorry You’re Happy. Kyle did the artwork -which I love! Every morning when Omi wakes up we say good morning to the various characters from the art work around his room. We call this one El-tigre (there’s Rooster & the Egg-man too).

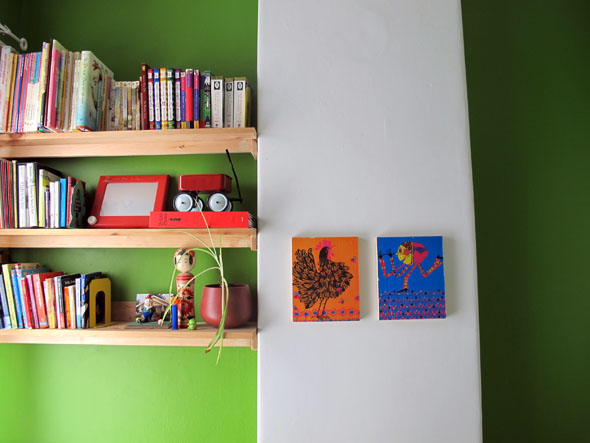
For Omi’s baby shower we asked for books to build a library. His shelves are now pretty stocked. There are so many fabulous new children’s books out there; I can’t wait to discover Omi’s favourites and to reread and share some of the books and authors that I loved to read when I was a kid too.


mini kitchen reno

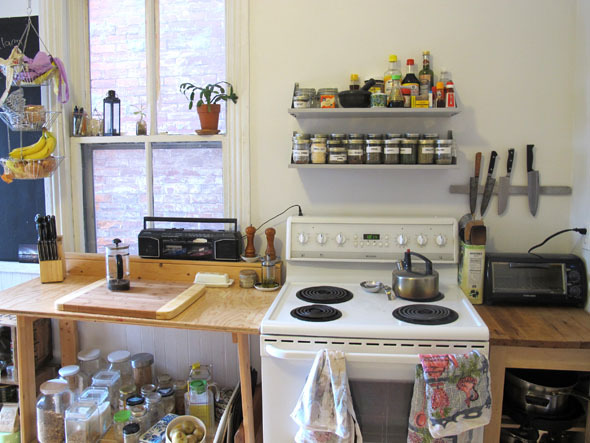
We did a mini kitchen reno back in December (when I say “we” I really mean Steve).

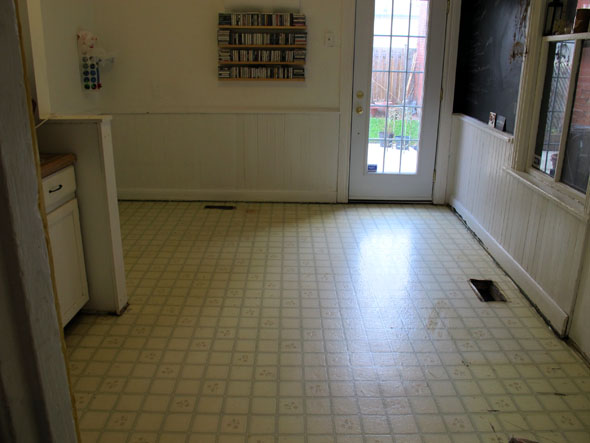
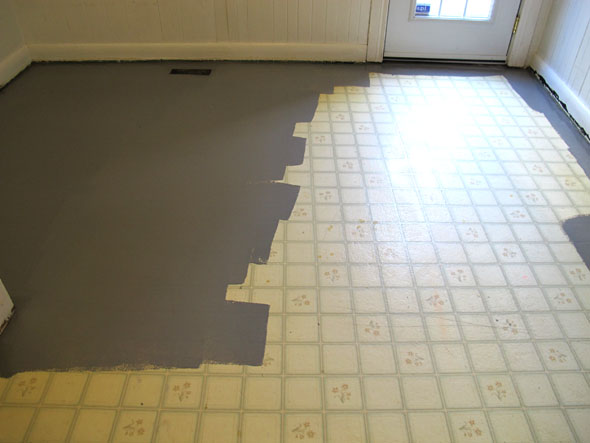
When we did our mega main floor reno over a year ago I had the crafty idea to paint over our old stained yellow vinyl floors (it was a bad idea by the way).

Although they looked great for about a week, it was a total fail. The floors stayed tacky with all kinds of dirt and grime sticking to them -so gross. In the end the floor was disgusting and it was not something that I could’ve lived with for much longer.

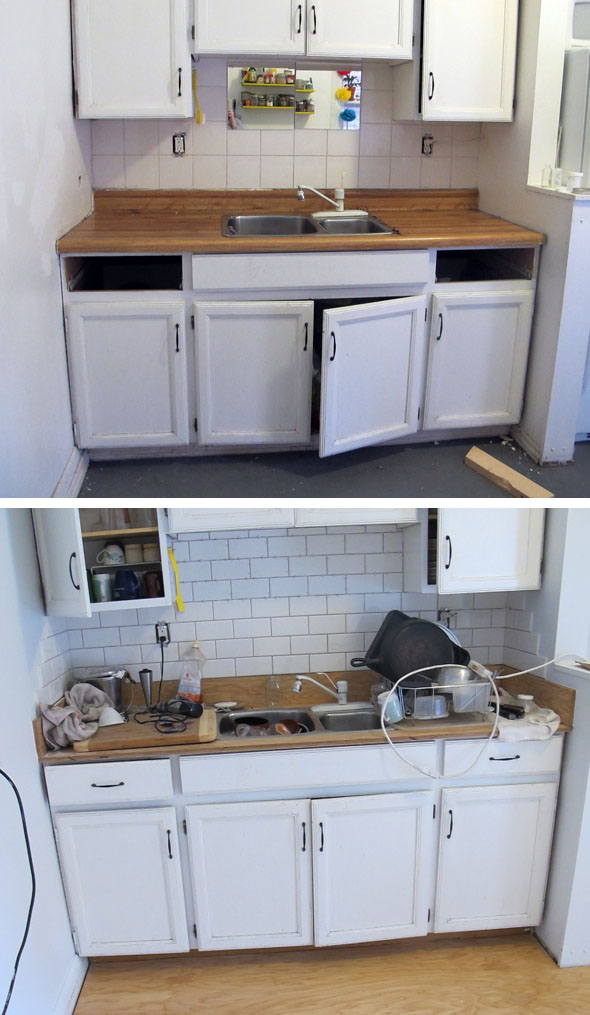
Knowing that it would be a long while until we would be able to do a full gut and reno of the kitchen, we decided over the Christmas holidays that we could manage a fast and cheap reno to tide us over until the real thing.

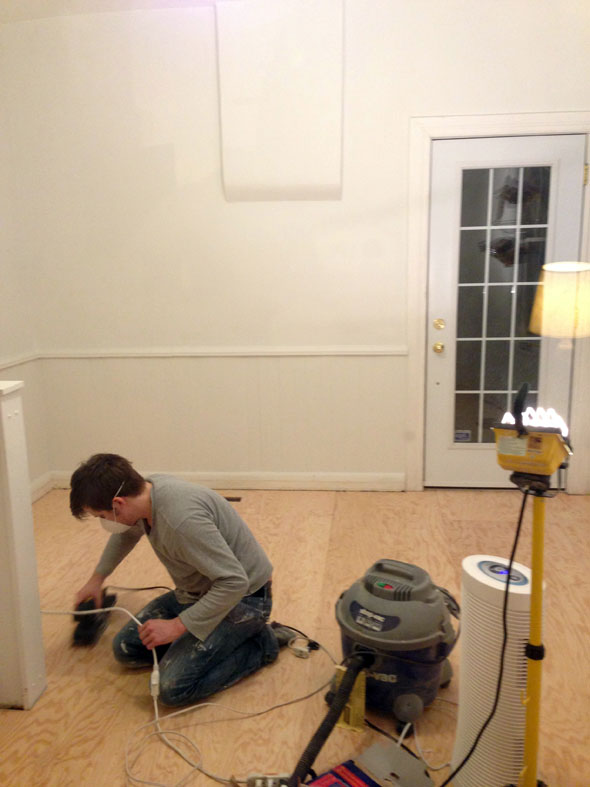
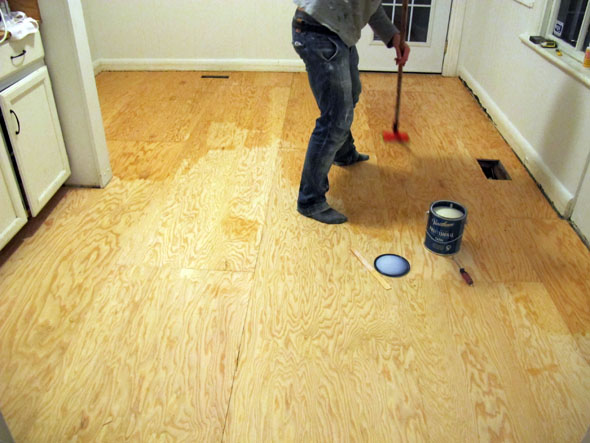
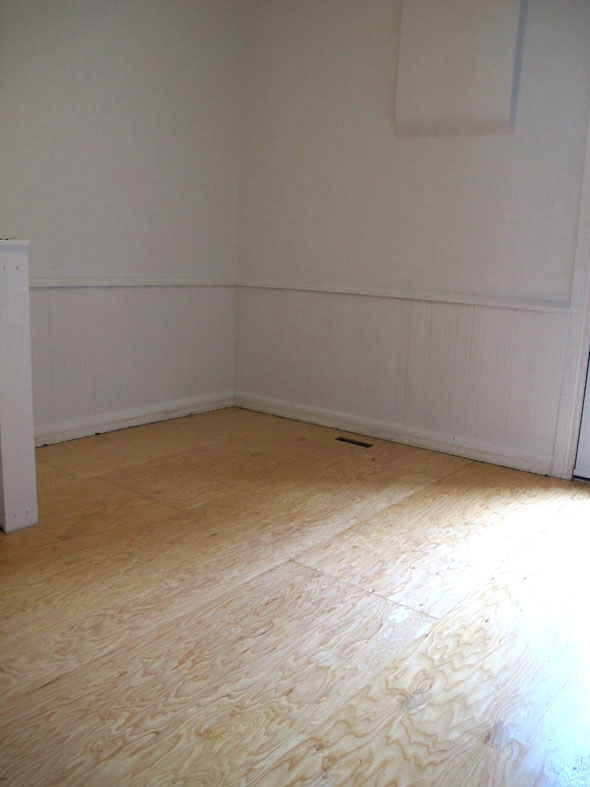
To fix the crap paint job I did on the vinyl floor we decided to try out using plywood for the floors and then figured we might as well redo the counter tops with plywood too.
We also replaced our backsplash with subway tiles. There’s plans to do a paint job for two accent walls. The paint has been purchased but has yet to make it onto any walls yet.

It was a fast and furious reno -did I mention that Steve did this entire reno in two days?!

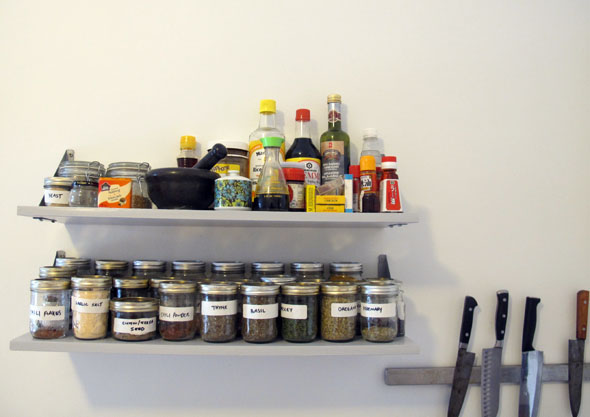
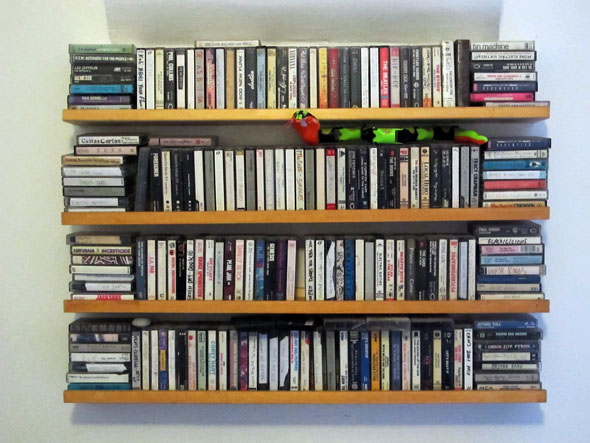
During all this chaos we also organized our spice shelf and said good-bye to our kitchen tape collection.

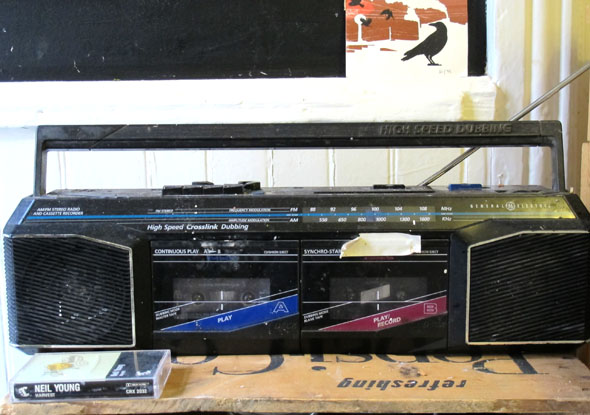
Not to worry we didn’t get rid of the tapes! They’ve just found a new home up in the attic. I remember when we rediscovered our mixed tapes and old tape collections and got many solid nostalgic re-listens. We’ll have to wait a few more years before I willingly slide one of those tapes in the cassette player without letting out a mega groan.

still use this bad boy everyday

painted black

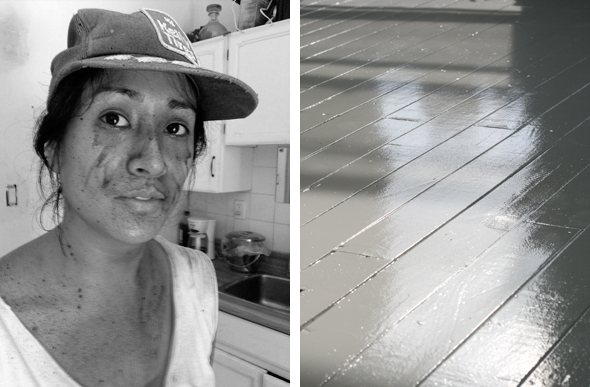
Sometimes when you paint and you use a roller that hasn’t entirely dried yet (and you’re not aware of that fact that it’ll be all wet and runny AND you’re about to paint a ceiling with black paint!), then you end up getting paint all over your face.

The good news on this day was that our bedroom is finally finished, well almost.  There’s no trim and baseboards, but right now, I could care less.  I’m just excited to move out of the cramped living space we’ve been occupying in the interim.

We added a fresh shiny coat of white paint to the bedroom floors too.  Luckily the floors were painted after the black ceiling painting mishap.  Can’t wait to move back in!

The Tammy Faye Bakker smears are from sweat and tears. It stings when you get paint in your eyes.


floor work

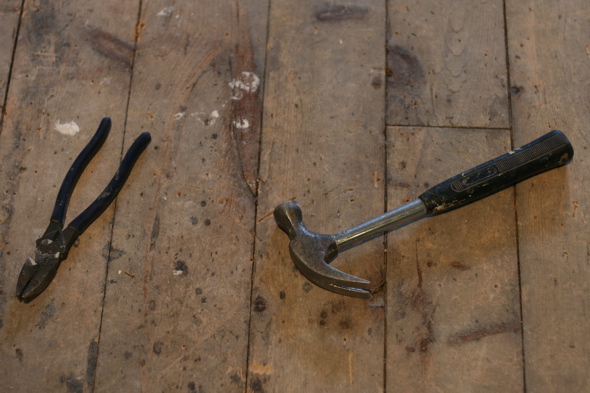
Indeed, doing floors is hard.  It took Steve and our handy friend Todd 5 hours of straight hunched over hammer ripping, ear spliting, wrenching and sweating to lift up the 5 layers of flooring that were on top of the original pine plank sub-floor.

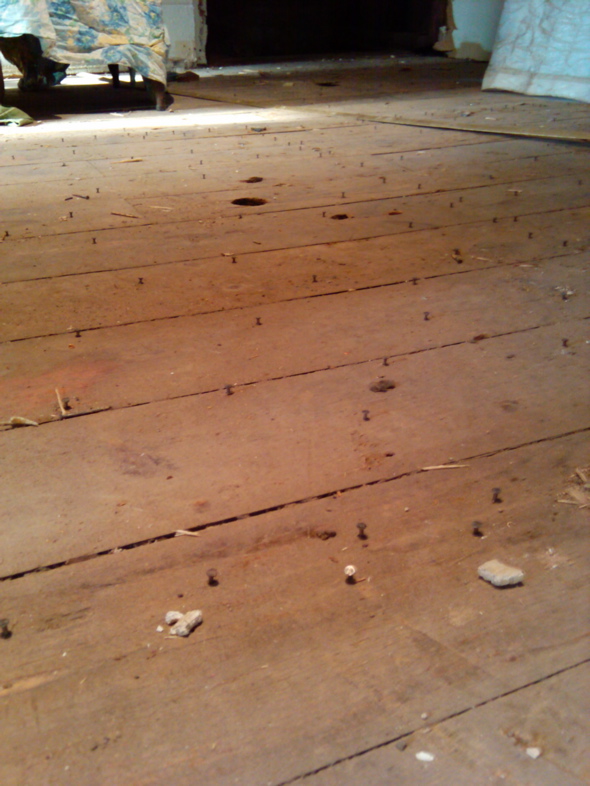
pulling nails from old pink plank flooring

I think I pulled up about a million nails.

pulling nails from old pine plank floors

100 year old pink plank floors

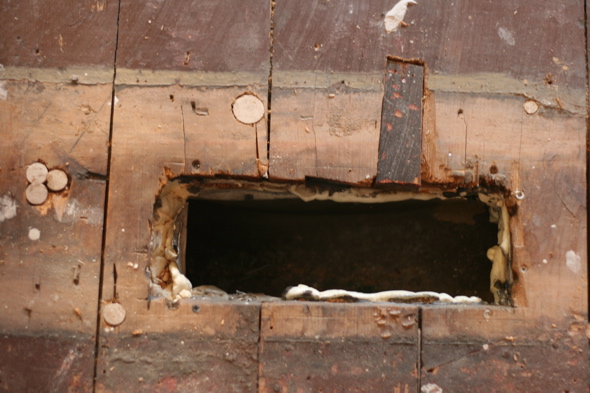
There was some repair work needed on a few of the boards.  We found someone who sold old flooring, and although overpriced, they matched up pretty well.  Steve replaced a few of the pieces that were rotting, and filled in the multiple holes.

100 year old pine plank floors

sanding 100 year old pink plank floors

And then on to the sanding.

floor sander, sanding 100 year old pine plank floors

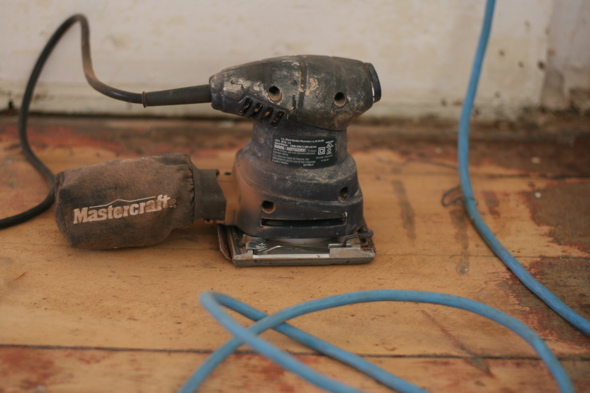
We rented the heavy duty sander from the Depots.  It is a super “heavy duty” sander meant for taking off paint and old varnish, and it’s a scary beast of a machine.  The box in the photo is filled with how much sandpaper it took to sand our floors down.  The sanding dust filled up nearly 3/4 of a garbage bag.

100 years 100 layers

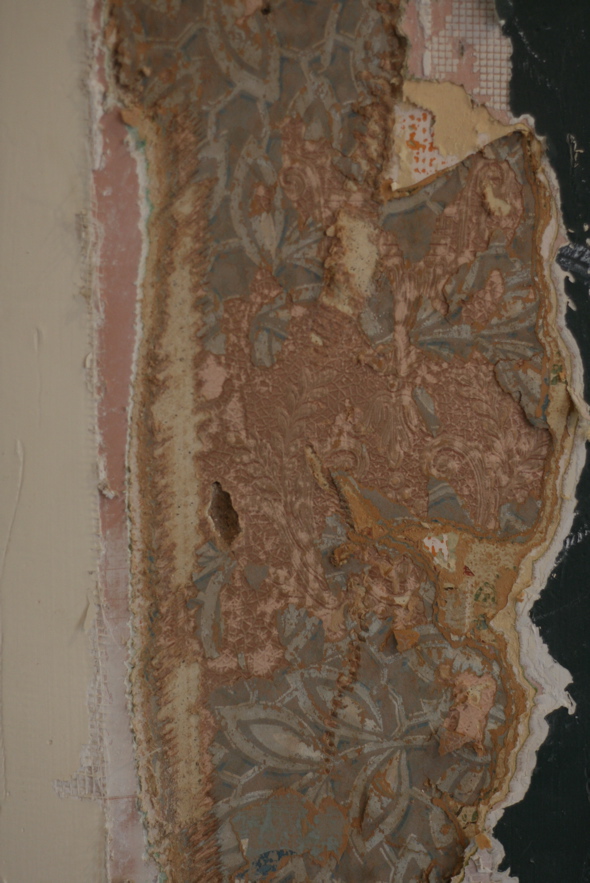
When we first moved into our house, we gave every wall a coat of fresh paint.  After our paint job, upon closer inspection we noticed a slight soft bulging and straight repetitive vertical lines going across the wall at even spaces, and concluded that it was obvious that wallpaper was underneath what was already several layers of paint.  So for this reno we decided to strip the walls down to the original layer of wall.

stripping wallpaper, 100 year old wallpaper, home renovations

stripping wallpaper, 100 year old wallpaper, home renovations

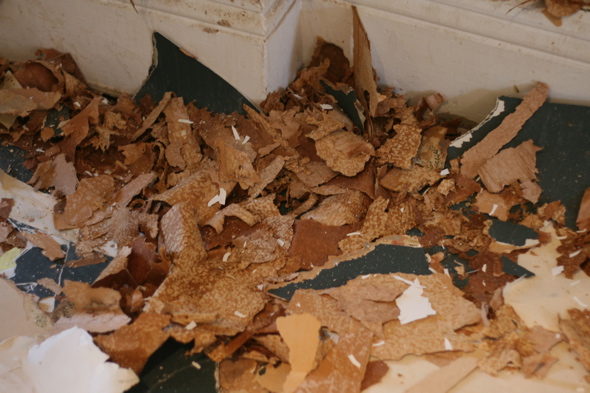
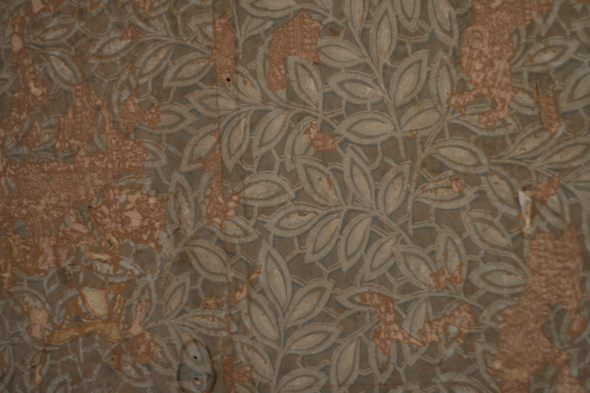
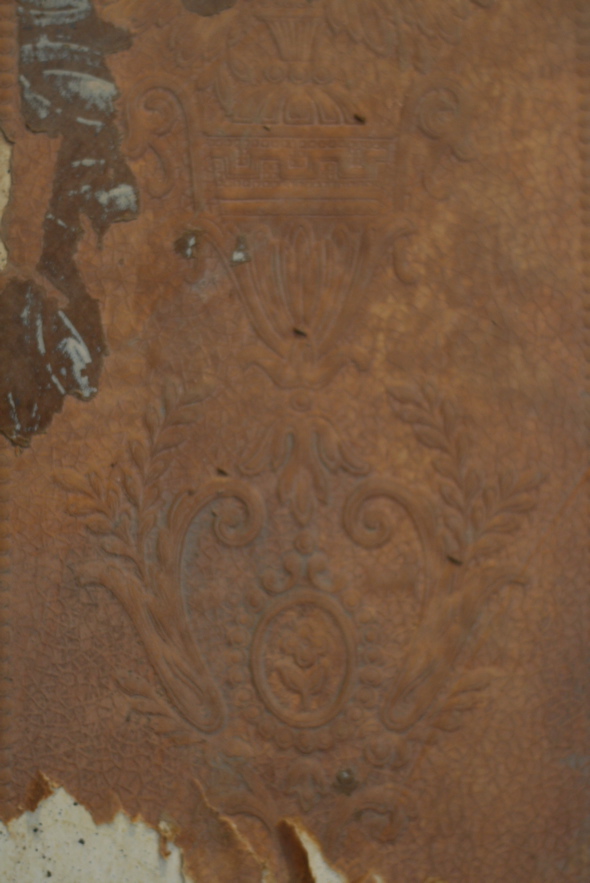
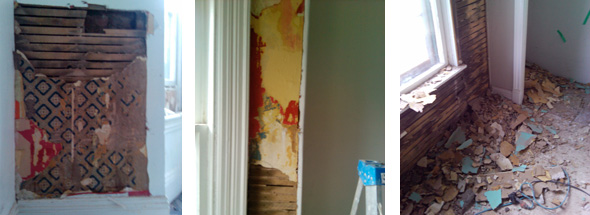
What an undertaking it has been.  There’s been layer upon layer of wallpaper, telling the story of the decades, from 90′s to the 80′s, 70′s 40′s and down sandwiched amongst varying shades and coats of paint.

stripping wallpaper, 100 year old wallpaper, home renovations

stripping wallpaper, 100 year old wallpaper, home renovations

stripping wallpaper, 100 year old wallpaper, home renovations

The colours of the last 1-2 layers of wallpaper were a soft rose and ghostly grey-blue.  Quite beautiful, but in pretty rough shape and smelling old and musty.

and the walls came tumbling down

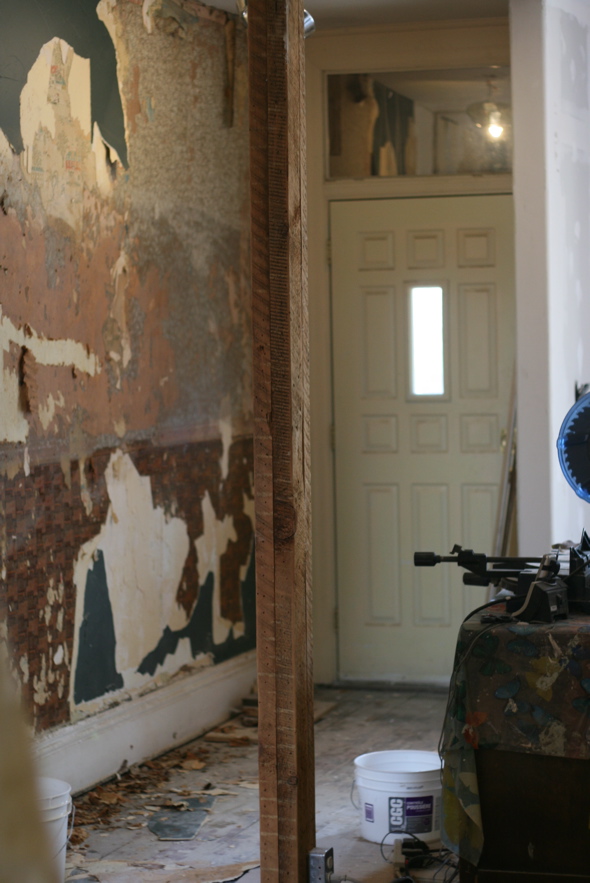
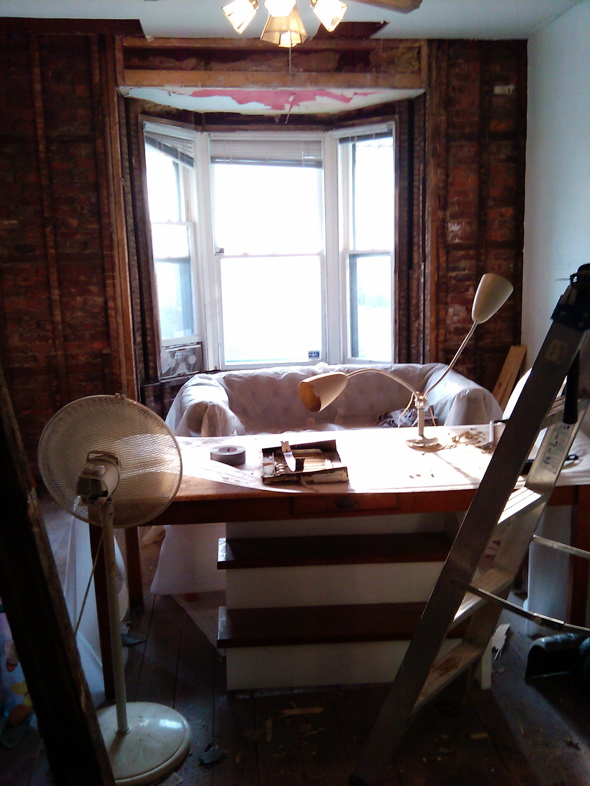
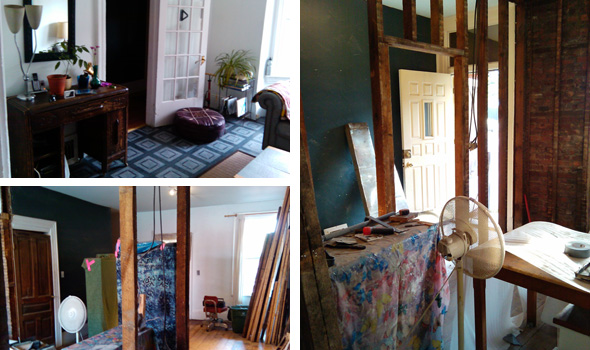
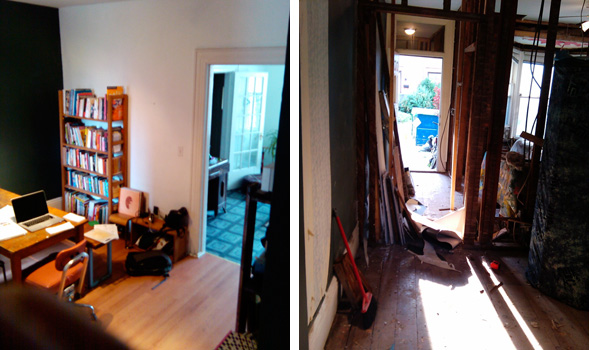
Still in mid renovation.  The walls are down.  The floors are peeled back, and the original ones are exposed.  We are living in a state of civilized chaos.  The demolition proved to be some what of an excavation.  Many layers of paint and wallpaper, a doll arm, 1980′s baseball cards, and a lot of 100 year old dirt, dust and rubble.

100 year old walls, renovation, old wallpaper

renovation, gutting walls

renovation

renovation, tearing walls down, demolition

The wall with the bookshelf was was actually a doorway from way back when.  You could see the roughed out frame of the old doorway trim from behind the drywall.  As you can see in the next photo that wall is now gone.